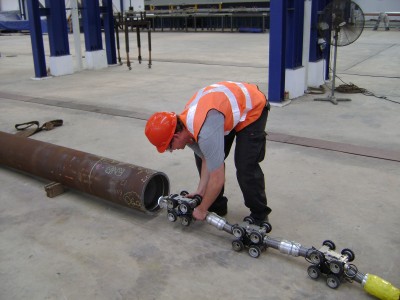
Newly developed laser software for the internal profile measurement of pipes passed its baptism of fire in 2010. This software ensures that with the standard “INSPECTOR 3000- 6000” video and laser inspection robots, inner profile measurement of pipes with an internal diameter of 130-750 mm can be carried out.
In March 2010 the software could for the first time prove what it can do on the Indonesian island of Batam off the coast of Singapore. The company Technip commissioned INSPECTOR SYSTEMS to check a new type of cladding of off-shore pipelines with regard to its deformation properties. In a first stage six test pipes were produced, which had to undergo a bending test. In order to detect any deformation or compression folds on the pipes, internal profile measurements were carried out every 10 mm over a length of one metre. In the next stage the test pipes were exposed to an extremely high pressure and measured again in the same areas. These comparative measurements allowed Technip to precisely examine the deformation properties of the pipes, including the cladding, under the various stresses.
The laser software newly developed by INSPECTOR SYSTEMS produces a graphic plot which contains the laser measurements with the appurtenant angle positions and the current robot position.
The special laser mounted on the rotating device of the inspection robot measures the distance from the centre of the pipe to the inner wall of the pipe. The longitudinal measurement of the inspection robot is also blended in. To evaluate the plot it is possible to go to any point of the pipe cross section generated by the software by means of a cross hair and to read off the relevant laser measurement with the appropriate angle position. The software saves all measurements as text files, which allows further processing with a table calculation program (e.g. Excel).
Because of the very good test results achieved with the newly developed laser software similar tests were then also commissioned by Technip in Japan.


